Take Good Pictures in Bad Lighting (flash-free on the iPhone)

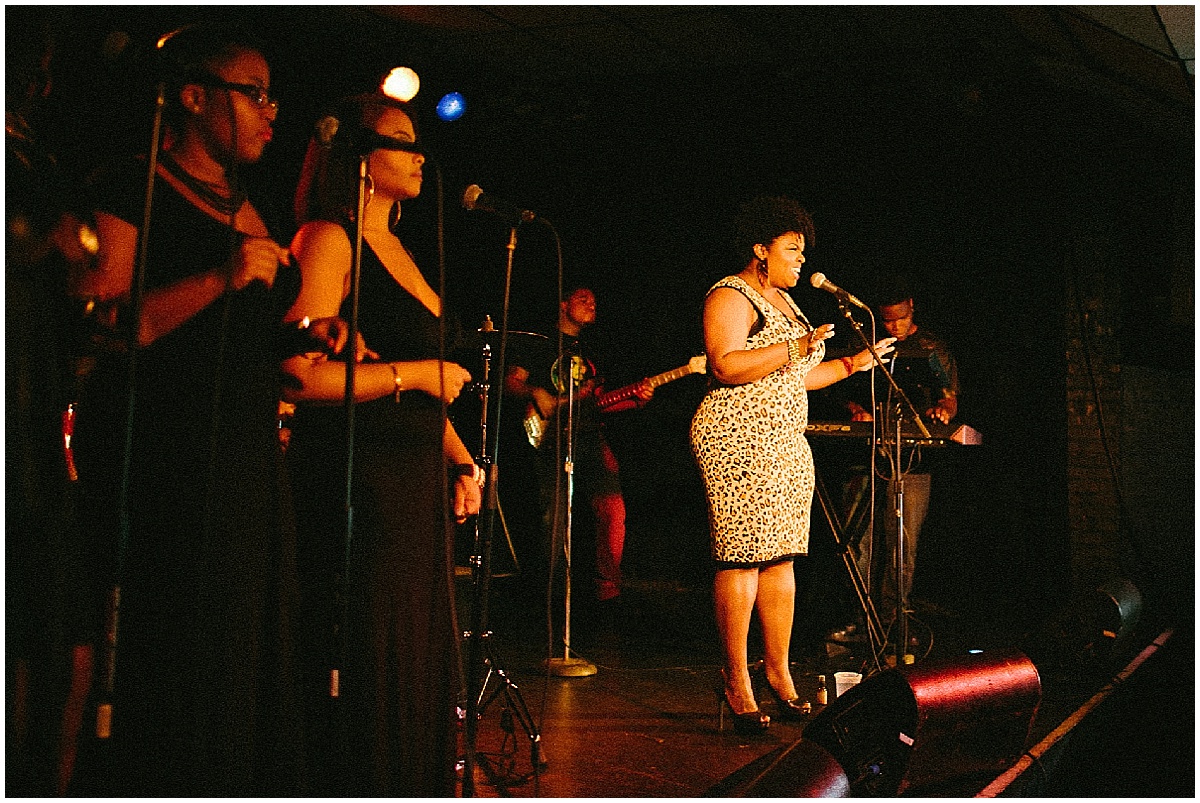
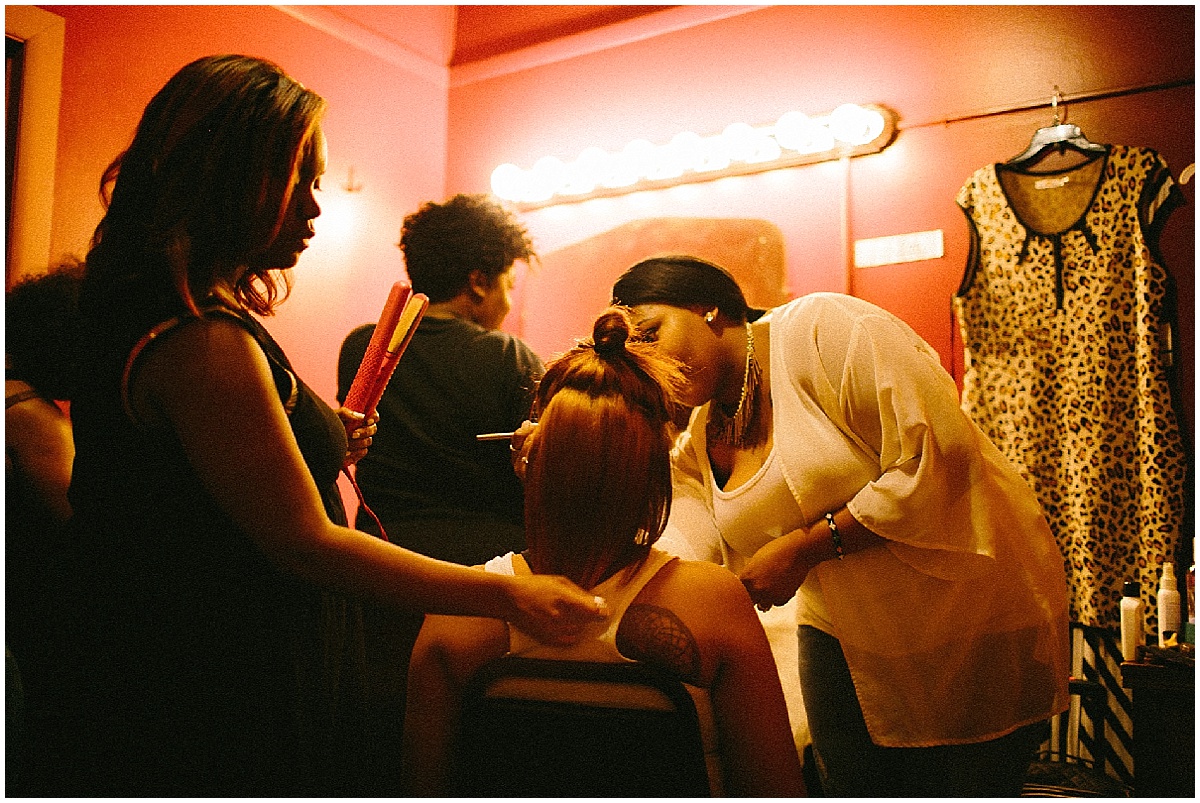
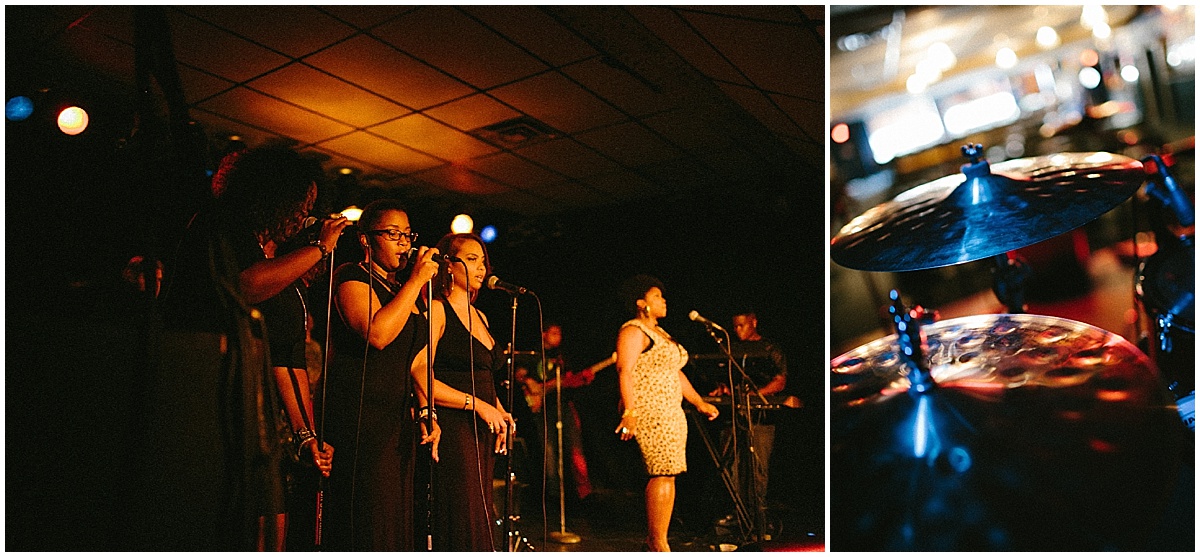
Shooting in low light can be a scary, scary thing. Most of us prefer nice sunny days, our viewing screens filled with as much natural light as possible. But there are times when this simply isn't the reality. There's no windows. It's 10pm at night. You're at a concert and have to work quickly to make the shots as hot as possible. Yes, these situations can be tricky but here is some advice so you can focus on your subject vs the lighting hurdles.

Grab your phone because it’s time to try these tips!

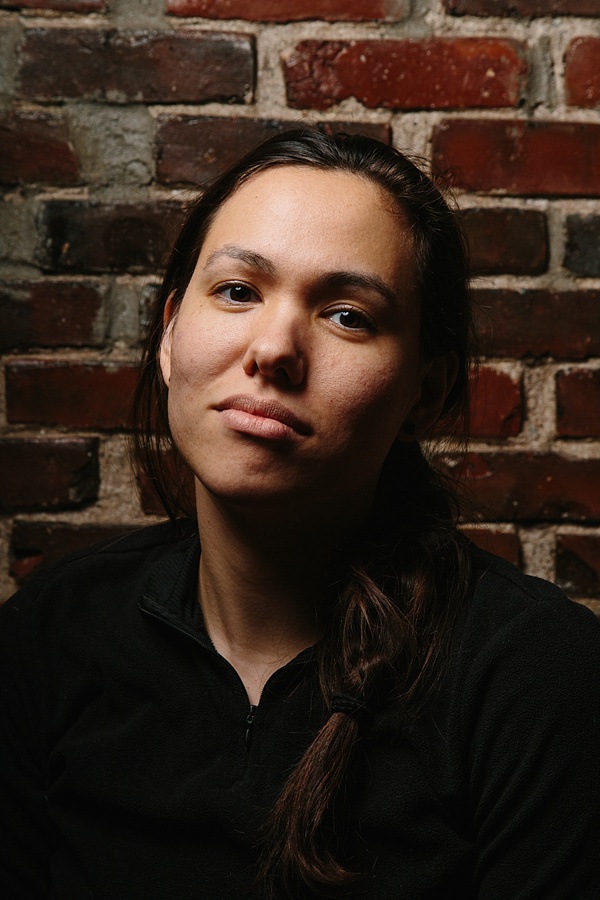
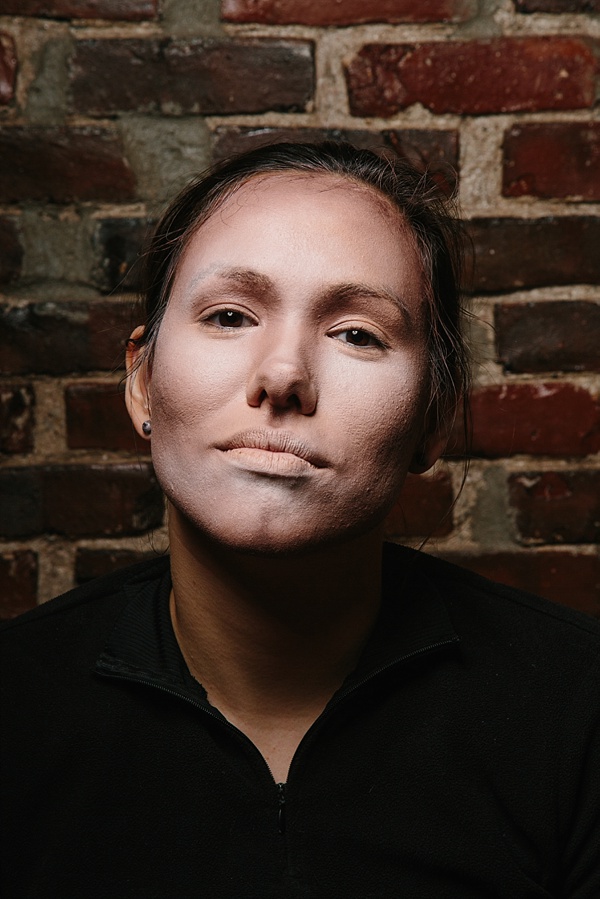
1. Adjust your exposure in Camera Mode

Tap the iPhone camera screen on the dark areas to boost up your exposure of the image. It’ll brighten things up! Like a DSLR camera adjusting its settings, the more light will be exposed to the sensor, allowing you the most light into your camera as possible.

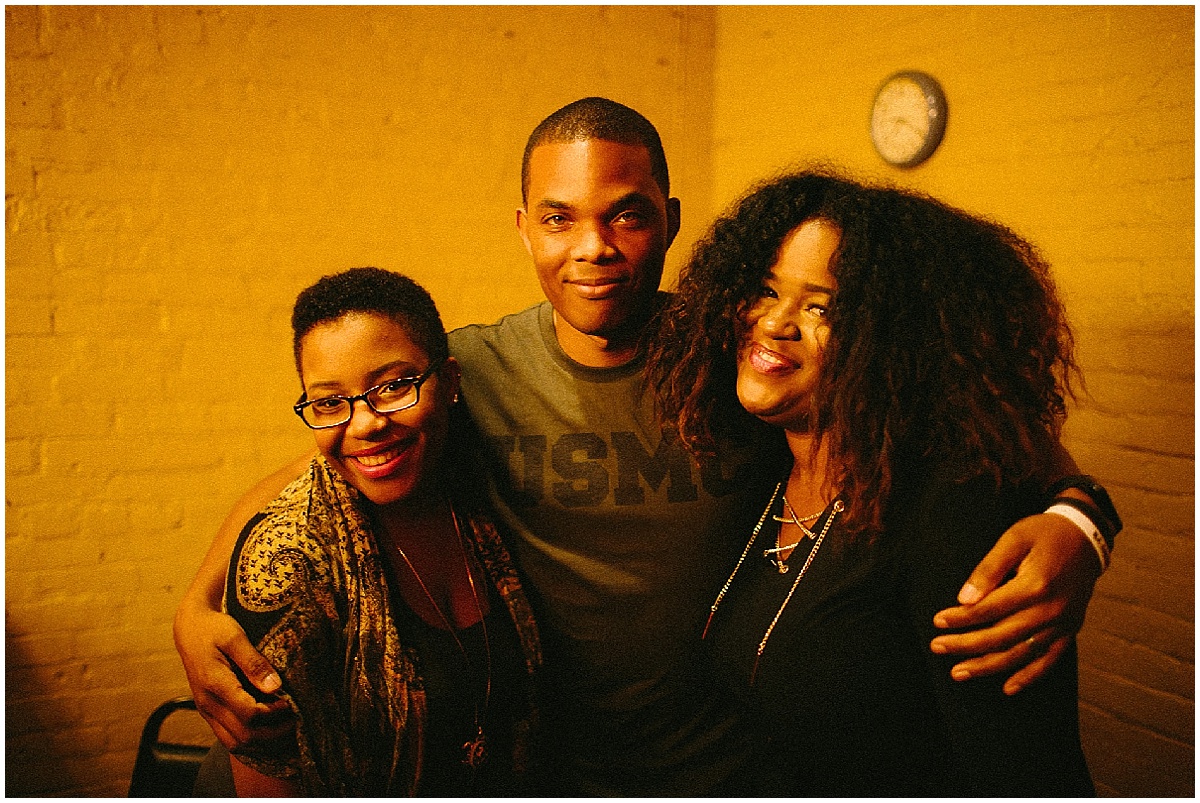
2. Add more lighting

How many photographers does it take to move a light bulb? ONE AND IT'S YOU. Grab a lamp nearby and light like you had a studio of lamps! No one will see that library-style desk lamp that you're awkwardly holding three inches away from your subject, just out of frame. Get weird! You can always send me some behind the scenes photos of your wildest lighting, I'd love to see how creative you can get!

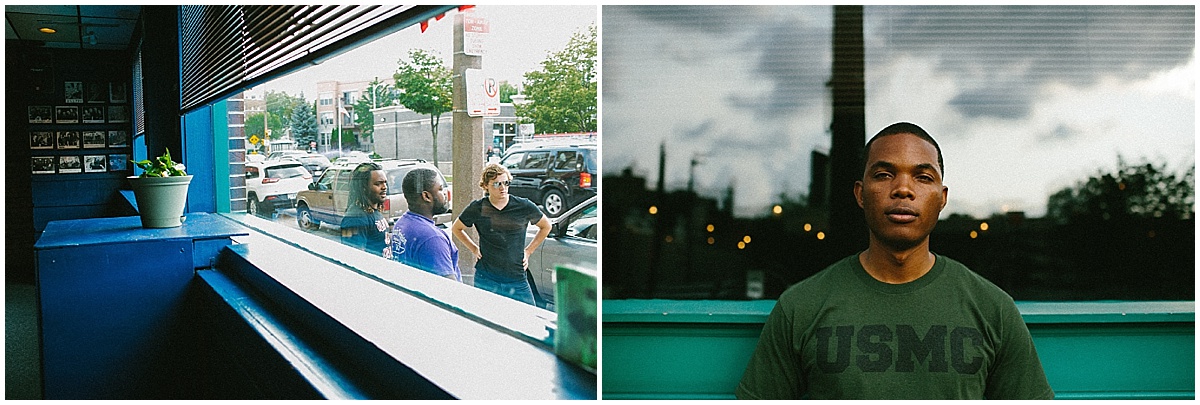
3. Shoot somewhere brighter

If you are shooting indoors with low light and it's during the daytime, take the subject outside or pull some of those still life's to a picnic table outdoors. Move somewhere where there is more light. If you are in the center of a dark room during day time try your setups next to a window and let light flood over your subject all pretty-like.

4. Smooth with a filter

I use the VSCOcam app and love their editing features. You can adjust your “clarity” if the image looks a bit too grainy. Also, feel free to sharpen things or change to black and white in VSCOcam. Black and white photography has a long lineage of being grainy and offering wonderful contrast for low-lit situations.

5. If it can wait, then wait

What is this, a candlelit dinner date? No, it's a photograph! Can it wait until morning or tomorrow afternoon for you to shoot the perfect iPhone image? If it can, go ahead and wait. Your audience will be here when you’re ready. 
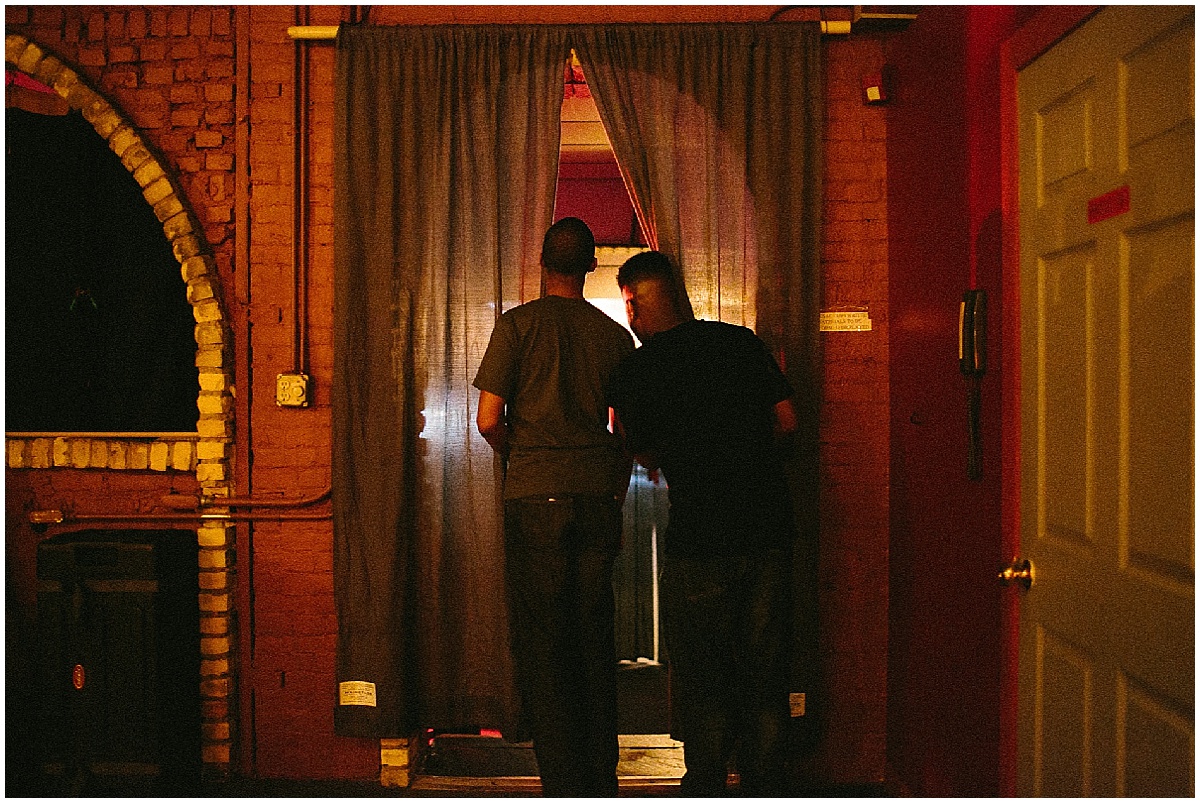
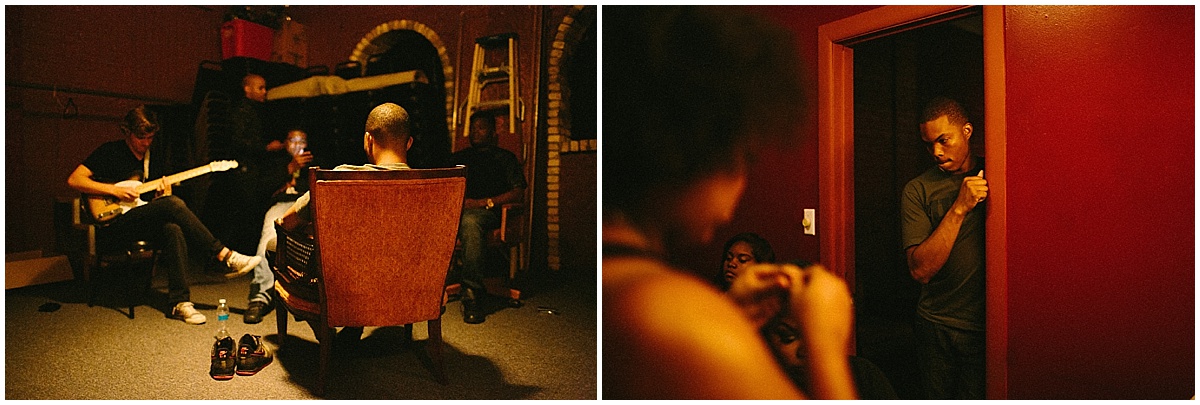
6. Embrace it

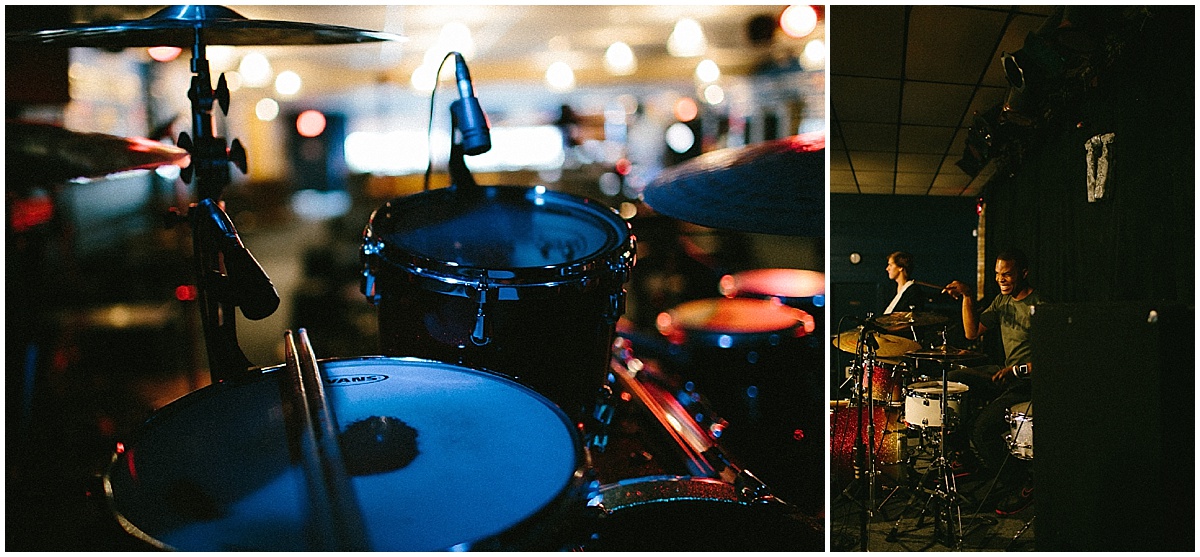
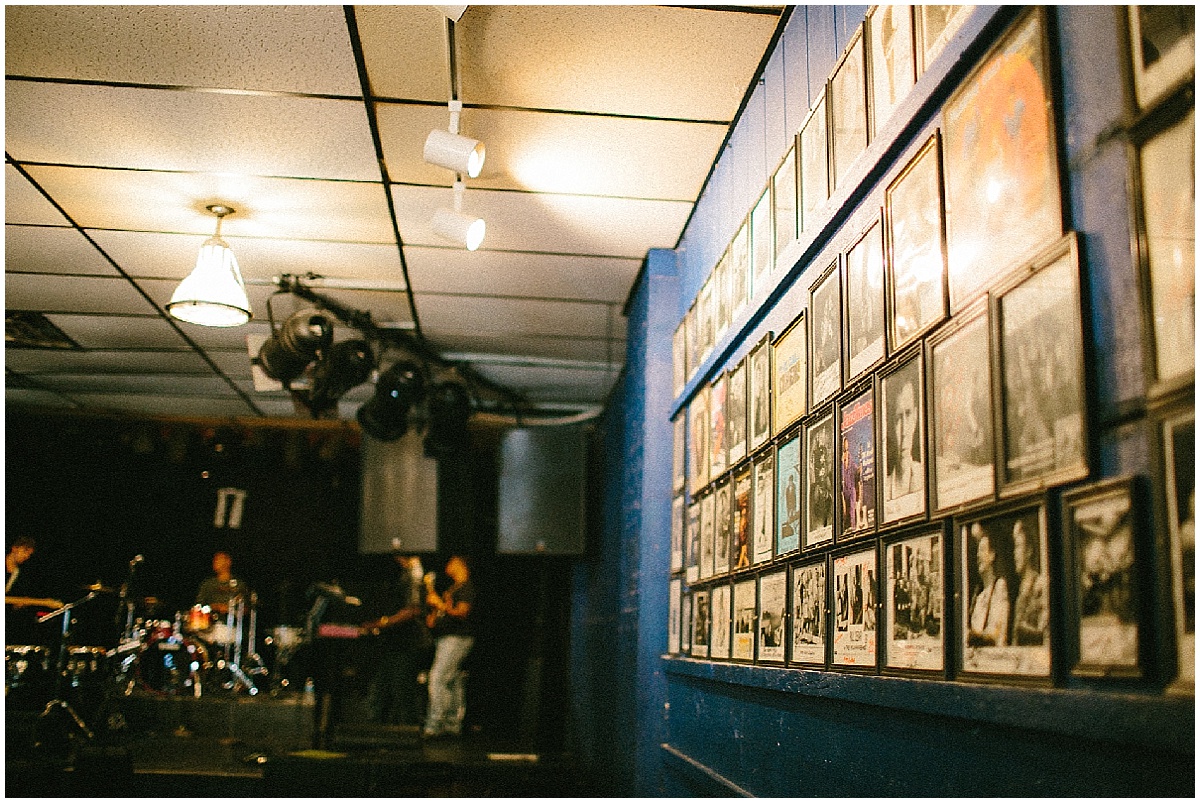
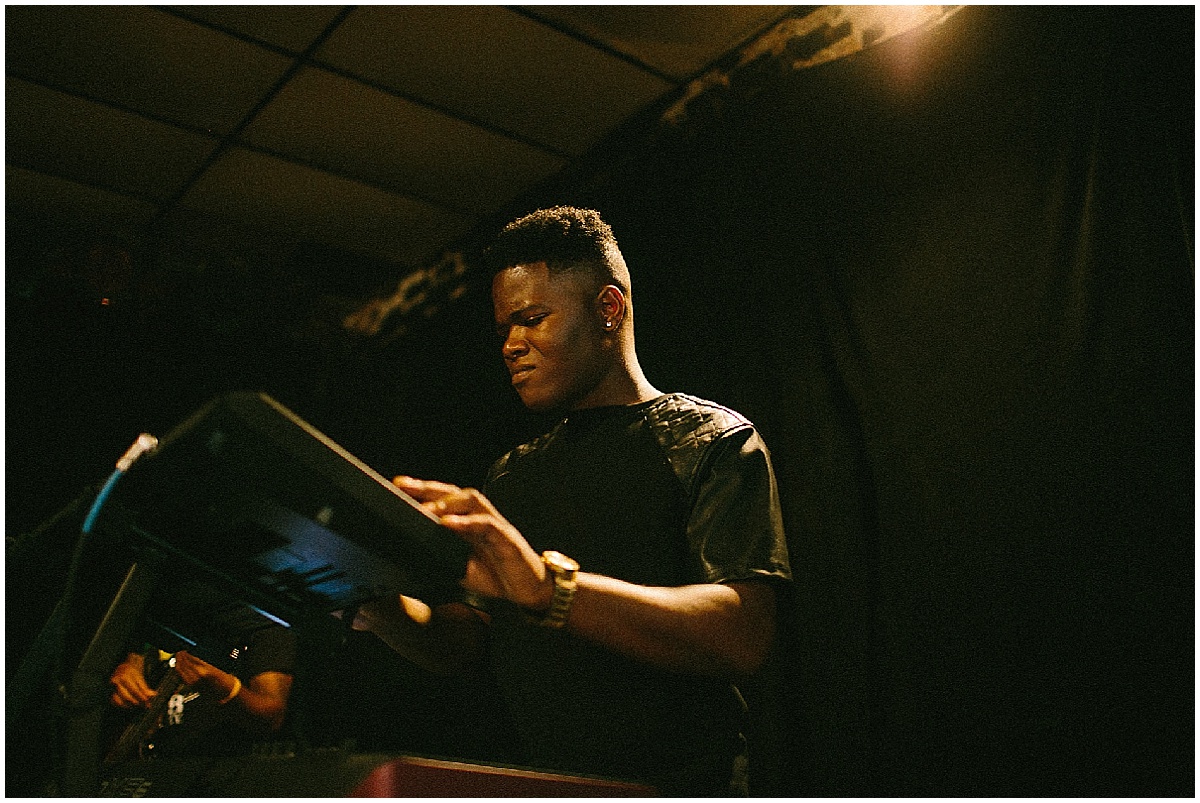
The truth is, I LOVE the drama of low light. If you only have one source of light at your disposal, try some new things! Photograph at a striking angle. Change your position. Try the photo with different subjects in the light and out of the light. Explore silhouettes. Now is your chance to be expressive! Shoot within your comfort zone but don't be afraid of challenging yourself with low light. I dare ya.

 [Special thanks to The Kevin Hayden Band for allowing Dakota Lenox Photography to shoot their group shots and behind the scenes of their show.]

Make-up Tips For Your Professional Portrait : Contouring Secrets For The Camera

I get a lot of questions regarding what type of makeup to apply for photo shoots. Personally, I'm a fan of whatever natural face your were born with. But sometimes my clients want more answers...

So I’m giving in! For you!

I’ve studied makeup for many years and would like to provide a step-by-step guide to contour makeup to effortlessly become flawless in your next photo shoot. Follow these steps and your hashtag #iwokeuplikethis will never be more accurate!


Step 1.

Take a “Before” photo. Admire your natural skin tone, because it’s about to rapidly and delightfully change through the miracle of foundation and face paint!

From the series “Beauty is Forever Eternal”, 2016

From the series “Beauty is Forever Eternal”, 2016


Step 2.

To create a superior you find a foundation tone that matches your natural color. To create a brand new person choose a color that's bold! Some experts say "skin match" for foundation but contouring is about full transformation. Cover the entire face including lips and eyebrows because you can fill them into any shape you’d like in later steps. This is the perfect time to include any warrior lines you’d like to explore with white face paint, this is highlighting.

From the series “Beauty is Forever Eternal”, 2016

From the series “Beauty is Forever Eternal”, 2016

Step 3.

Start to find the shadows and highlights of the face using your deepest brown and white face paint or powder from your contour kit. Explore different lighting sources for added creativity and allow yourself to freely explore diagonals and shadows!

From the series “Beauty is Forever Eternal”, 2016

From the series “Beauty is Forever Eternal”, 2016

Step 4.

Blend blend blend! Notice the beauty of your eyebrow-less, cheekbony, matte face! Is that a new chin?! Yes! You’ve created it from your deepest desires. I’m so proud of you.

From the series “Beauty is Forever Eternal”, 2016

From the series “Beauty is Forever Eternal”, 2016

Step 5.

The next step is vital. Add on your new eyebrows and fill in your lips and cheeks with a hot shade of lipstick and blush.

From the series “Beauty is Forever Eternal”, 2016

From the series “Beauty is Forever Eternal”, 2016

Step 6.

Without a hair stylist for your photo shoot? No problem! Add a wig and change your clothes to become someone you’ve always wanted to be! Shoot all your hottie-shots and have fun while doing it.

From the series “Beauty is Forever Eternal”, 2016

From the series “Beauty is Forever Eternal”, 2016

Step 7. [Bonus step!]

I usually don’t share this secret, but because you’re such a loyal fan and this is the hottest beauty industry tell-all article I’ll reveal it... To remove your contouring makeup apply nature’s best exfoliant: chocolate syrup. It’ll rid you of dark circles temporarily with it’s deep opaque coverage and leave you glowing for days afterwards.

From the series “Beauty is Forever Eternal”, 2016

From the series “Beauty is Forever Eternal”, 2016

Thank you for reading and remember there’s nothing more beautiful than your natural face for photo shoots. Relieve yourself of the pressure and simply be you. Happy April!